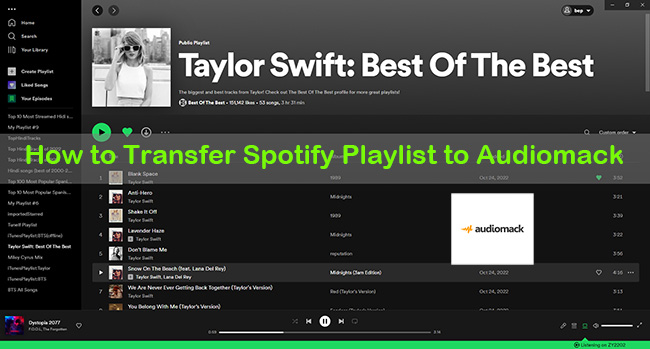
It is known to us that Audiomack is a free and open music streaming platform. All artists and content creators are accessible to upload their works to it. It provides you with unlimited storage, so you can upload your favorite music and album to it. File types including MP3, WAV, AIFF, OGG, FLAC, Zip, and M4A are supported, and the file size of every song can be up to 250MB. It is these features that attract you to use Audiomack as your alternative music player besides Spotify. However, all Spotify music can not be played on Audiomack because of the copyright. So, can
you transfer Spotify playlist to Audiomack so that you can listen to them on Audiomack, too? Definitely, you can. This post will give you the three best ways to make it. Please follow my step now.
Part 1: Best Way to Transfer Spotify Playlist to Audiomack [Hot]
Since all Spotify songs are protected by encryption technology, you can’t transfer Spotify playlist to Audiomack directly. The best way is to download and convert them to your computer, then transfer them to Audiomack. However, the first step for you is to remove this protection via a third-party tool.
Here, AudBite Music Converter is recommended to you sincerely. All Spotify tracks, albums, podcasts, audiobooks, and playlists can be downloaded and converted to your devices via it. And it can eliminate the encryption set by Spotify, then convert them to unprotected formats such as MP3, FLAC, M4A, M4B, AAC, and WAV. Beyond that, different music players and devices including Audiomack are supported, you can listen to those downloaded Spotify music offline with high sound quality and not be interrupted by ads while listening. And you don’t need to worry that you can’t distinguish these songs because the metadata information of every song is maintained after being converted. So, you can achieve Spotify music and platform freedom via it.
Main Features of AudBite Spotify Music Converter
- Download ad-free songs from Spotify without premium easily
- Convert Spotify music to MP3, AAC, WAV, FLAC, M4A, M4B
- Save Spotify music up to 320kpbs and with ID3 tags retained
- Support downloading Spotify music in batch at 5× faster speed
Here I will teach you how to use the AudBite Music Converter hand by hand and how to transfer Spotify playlist to Audiomack via it.
1.1 How to Download Spotify Playlists
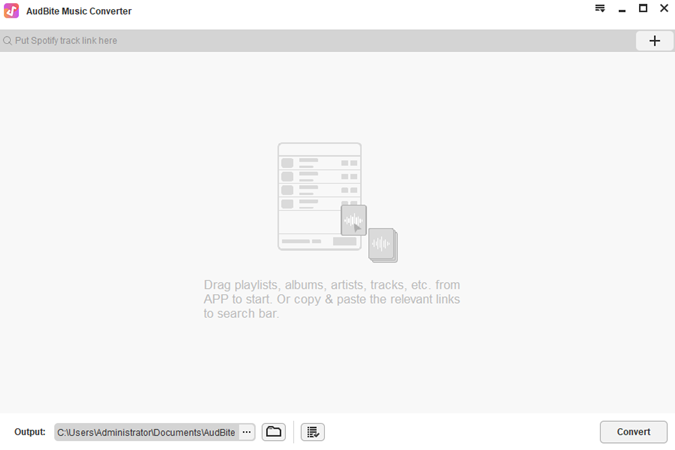
Step 1 Import Spotify Playlist to AudBite Music Converter
Enter audbite.com to download AudBite Music Converter. Launch it and Spotify on your computer will pop up at the same time. Head to Spotify, drag Spotify playlists that you want to transfer or copy links to the conversion area. Then all Spotify songs that you choose will appear.
Step 2 Adjust Output Formats for Audiomack
Click Menu and then Preferences. Click the Convert button and you will see the window. It is important for you to set the Output Format for chosen Spotify playlist supported by Audiomack. Other settings including Sample Rate, Channel, and Bit Rate can be adjusted according to your own needs. Then click OK to end this step.

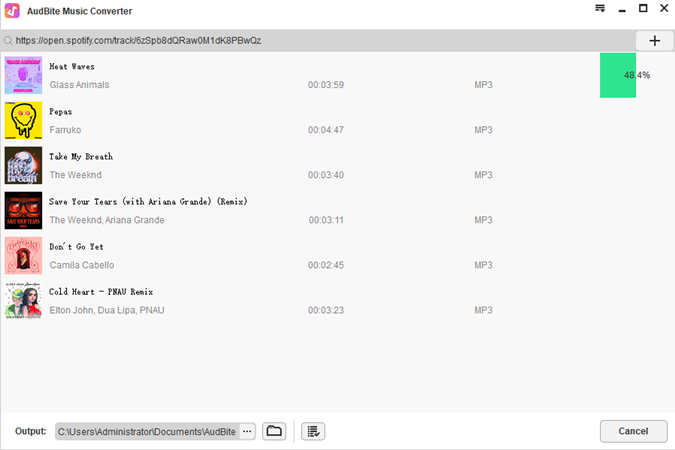
Step 3 Download and Convert Spotify Playlists to Computer
As you have set the Preferences for Spotify playlists, click Convert. Then you can see each song’s name, duration, output format, and the process of conversion. Wait for several minutes patiently. Then all chosen Spotify playlists will be downloaded and converted to your computer.
1.2 How to Upload Spotify Playlist to Audiomack
When finishing the above steps, then you may want to know how to transfer these Spotify playlists to Audiomack. Below are the steps.
1) Visit Audiomack and sign in or sign up for your Audiomack account.
2) Then you will see the Upload icon in the top right corner.
3) Click it. Then select your upload type from Song, Album/EP, or Non-Musical three types.
4) Fill in the Basic song information such as the name of the file, artist, and cover photo.
5) Then click NEXT.
6) Choose Your Release. You can set your Spotify song to public or private. Then click the Finish button. And you can transfer Spotify playlist to Audiomack now.
Part 2: Two Ways to Transfer Spotify Playlist to Audiomack
The above method is accessible for both Spotify premium and free users. Not only can you transfer Spotify playlist to Audiomack, but Spotify to Tidal and other music platforms. To give you more choices, we share other popular tools, MusConv and Soundiiz, below. Both of them can work well to finish music transfer between Spotify and Audiomack.
Note: These two tools are not completely free, they are only available in a free trial version with certain restrictions.
Method 1: MusConv
MusConv is a music converter that can transfer your playlists, followed artists, liked tracks, and albums between 50 plus music services such as Spotify, Audiomack, YouTube, and iTunes. Besides, it can keep albums and playlists synchronized automatically, which means you can also transfer Audiomack to Spotify. From now on, more than 120,000 songs have been downloaded via it. It can be available on Windows, macOS, and Android operating systems. So, it will be a great choice for you to make it.
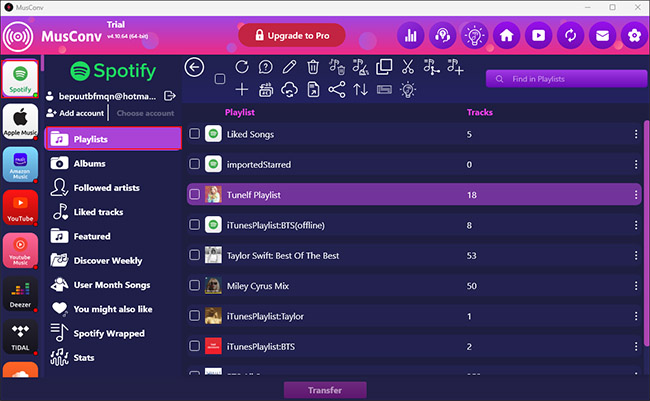
1) Download MusConv then log into your account.
2) Select Spotify as your source music platform. Then sign in to your Spotify account.
3) Click Playlists to tick the Spotify playlists that you want to transfer. Then click the Transfer button.
4) Select Audiomack as the destination source and log into your account.
5) When connecting successfully, it will start to transfer.
6) Wait for a moment. Then click the Finish Transfer to end this process.
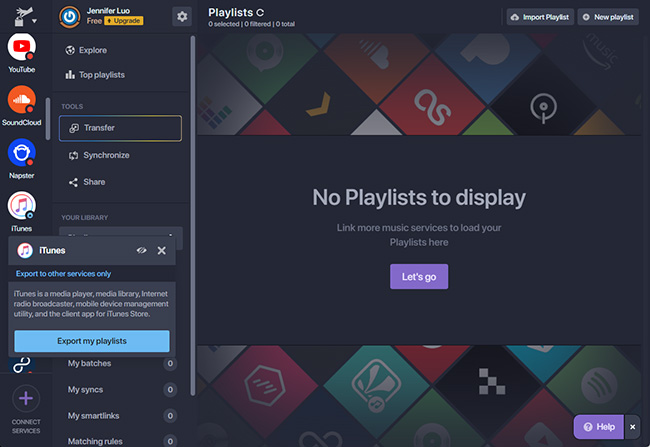
Method 2: Soundiiz
Soundiiz is an online tool that can transfer your tracks, albums, artists, and playlists to more than 45 streaming platforms including Spotify, Audiomack, Apple Music, Tidal, and YouTube Music for free. You can use this tool to merge, join, replace, and split your playlists. It can available on Windows and macOS operating systems.
1) Enter Soundiiz. Click Start for free. Sign in to your Soundiiz account.
2) Click the Let’s go button to start the process.
3) Connect and log into your Spotify account first. Then connect and log into your Audiomack account.
4) After both connecting successfully. Then tick Spotify playlists to convert.
5) Click the Save configuration first then Confirm.
6) Choose Audiomack as the destination to transfer the Spotify playlist to Audiomack.
Note: If you want to transfer Audiomack to Spotify, you can also make it with the above three methods. The steps are totally similar. You just need to switch source and destination platforms.
Part 3: Conclusion
The 3 best ways are introduced to tell all of you how to transfer Spotify playlist to Audiomack. Every method is easy to follow. If you have needs in this aspect or you are free-Spotify users, the three methods will definitely be helpful for you. And you can choose the matchable method to meet your own needs. If you encounter any problems in the process of manipulating, you can make comments below, we will try our best to help you solve them.